
Essential Microblading Aftercare Steps for Beautiful Brows
- Lucy Enkh

- 1 day ago
- 4 min read
Getting your eyebrows microbladed is an exciting beauty upgrade. You’re about to enjoy fuller, natural-looking brows that frame your face perfectly. But to keep those brows looking flawless, you need to follow the right aftercare steps. Trust me, the way you care for your new brows in the days and weeks after your appointment makes all the difference.
I’m here to guide you through the essential microblading aftercare steps. These tips will help your skin heal properly and keep your brows looking fresh and vibrant for months to come. Let’s dive in!
Why Microblading Aftercare Steps Matter
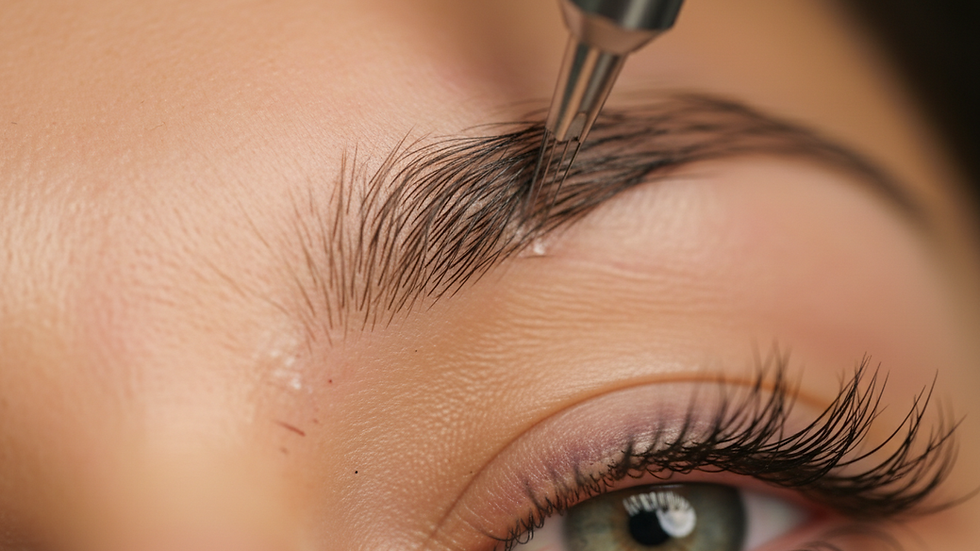
Microblading is a semi-permanent tattoo technique that deposits pigment into the skin using tiny, hair-like strokes. Because it involves breaking the skin’s surface, your brows need special care while they heal. If you don’t follow the right aftercare, you risk infection, pigment loss, or uneven fading.
Here’s why these aftercare steps are so important:
Protect your skin: Your skin is sensitive and healing. It needs to stay clean and dry to avoid irritation.
Preserve pigment: Proper care helps the pigment settle evenly and last longer.
Prevent infection: Keeping your brows clean and avoiding bacteria is key.
Avoid scabbing and flaking: Scabs can pull pigment out, so you want to minimize them.
Following these steps is simple, but it requires commitment. Think of it as a short-term routine for long-term beauty.
The Essential Microblading Aftercare Steps You Need to Know
Let’s break down the microblading aftercare steps into easy-to-follow actions. These will guide you from the moment you leave your appointment through the full healing process.
1. Keep Your Brows Dry for the First 7-10 Days
Water is your enemy during the initial healing phase. Avoid getting your brows wet when washing your face or showering. Use a gentle cleanser on the rest of your face, but keep the brow area dry.
Use a damp cotton pad to clean around your brows if needed.
Avoid swimming, saunas, and heavy sweating.
Pat your face dry carefully without touching your brows.
2. Apply Aftercare Ointment as Directed
Your technician will likely provide a special ointment or cream. Apply it sparingly and only as instructed. Too much ointment can clog pores and cause issues.
Use clean hands or a cotton swab.
Apply a thin layer to keep the area moisturized.
Avoid using any other skincare products on your brows during healing.
3. Avoid Makeup and Skincare Products on Your Brows
Makeup and skincare products can irritate your healing skin or cause pigment to fade.
Skip eyebrow pencils, powders, and gels.
Avoid exfoliants, retinol, and acids near your brows.
Keep sunscreen away from the area until fully healed.
4. Do Not Pick or Scratch Your Brows
As your skin heals, you might notice scabbing or flaking. This is normal, but resist the urge to pick or scratch.
Let scabs fall off naturally.
Picking can cause scarring and uneven pigment loss.
Keep your hands away from your brows as much as possible.
5. Protect Your Brows from Sun Exposure
Sunlight can fade your pigment quickly. After your brows have healed, always protect them with sunscreen or wear a hat.
Use a broad-spectrum SPF 30 or higher.
Avoid tanning beds and prolonged sun exposure.

Can I Get My Eyebrows Wet 7 Days After Microblading?
This is a common question, and the answer depends on how your skin is healing. Generally, after 7 days, your brows should be mostly healed on the surface, but the deeper layers are still settling.
You can start to gently wash your face with water, but avoid soaking your brows.
Avoid direct water pressure on the brows.
Continue to avoid swimming, saunas, and heavy sweating for at least 2 weeks.
If you notice any redness, irritation, or scabbing, keep them dry a bit longer.
Remember, every person heals differently. If you’re unsure, check with your microblading technician for personalized advice.
What to Expect During the Healing Process
Understanding the healing timeline helps you stay patient and follow your aftercare routine confidently.
Days 1-3: Brows will look darker and bolder than expected. This is normal.
Days 4-7: You may notice scabbing or flaking. Do not pick!
Days 8-14: Scabs should fall off naturally, and pigment may appear lighter.
Weeks 3-4: Color will settle and become more natural.
Touch-up appointment: Usually scheduled 6-8 weeks after the initial session to perfect your brows.
If you experience excessive redness, swelling, or pain, contact your technician immediately.

Tips for Long-Lasting Microbladed Brows
Once your brows are healed, you want to keep them looking fresh for as long as possible. Here are some tips to extend the life of your microblading:
Avoid harsh facial treatments like chemical peels or laser resurfacing near your brows.
Use gentle skincare products around your brow area.
Schedule regular touch-ups as recommended by your technician.
Protect your brows from sun exposure daily.
Avoid excessive rubbing or scratching of the brow area.
By following these simple tips, you’ll enjoy beautiful brows that boost your confidence every day.
Your Next Steps for Gorgeous Brows
Microblading is a fantastic way to enhance your natural beauty, but it requires care and attention afterward. Following the right aftercare steps ensures your investment pays off with stunning, long-lasting results.
If you want a detailed guide, check out these microblading aftercare instructions for expert advice tailored to your needs.
Remember, your brows are worth the effort. Stick to the aftercare routine, be patient during healing, and enjoy the compliments that come your way!
Ready to book your microblading session or touch-up? Laveda Lash & Brow is here to help you look and feel your best with expert care and beautiful results. Your perfect brows are just an appointment away!


Comments