
Beauty Prep for Cherry Blossom Festival Photos With Balanced Color Tones

Cherry blossoms can overwhelm a portrait when pink, magenta, and white tones blend together. Beauty prep for Cherry Blossom Festival photos starts with balanced color: outdoor automatic white balance often provides a useful starting point, while complex light may call for targeted adjustments. Choose clothing in a darker, more pronounced color to contrast with the blossoms and help your features stand out.
The festival’s soft palette is part of its appeal, but it can make outfit and makeup choices less straightforward. Warm or cool colors can shift a portrait’s mood, and the right balance helps keep your look polished without competing with the blooms. Learn how to manage pink, magenta, and white tones, choose a flattering color direction, and prepare a cohesive look for your photos.
Table of Contents
1. Adjusting pink, magenta, and white tones
Cherry blossoms can range from pale pink to saturated magenta in a single frame. White petals add another challenge: changing light can make them look cream, gray, or pink. For beauty prep for Cherry Blossom Festival photos, plan your makeup and outfit with the background in mind, then review the image’s color balance before editing.
Start with the camera’s automatic white balance outdoors. It often gives you a useful starting point, but mixed light can make nearby flowers look different in the same photograph. For example, blossoms in open shade may look cooler than petals in direct sun. Check both the brightest petals and your skin before deciding whether the image needs correction.
Use a simple editing sequence rather than changing several controls at once:
Correct the overall white balance. Try the automatic white balance adjustment first. If a white petal looks noticeably blue or yellow beside a neutral object, use the eyedropper tool on that object as a reference.
Compare pink and magenta separately. A pink adjustment can affect pale blossoms, while a magenta adjustment can affect richer petals and some skin tones. Move one color control at a time, then compare the result with the original.
Protect detail in white areas. Look closely at petal edges and folds. If they lose texture or take on a strong color cast, reduce the adjustment and review the white balance again.
Check the face after each edit. A correction that improves the flowers can make lips or cheeks look too red. Keep skin tones natural rather than matching them to the blossoms.
Individual color-layer adjustments can help when the background needs a different correction from the subject. For instance, reduce excess magenta in the blossoms while preserving the subject’s natural warmth. Keep adjustments subtle. A dramatic color shift can make white petals look artificial and draw attention away from the face.
Clothing can help balance the image before you open a photo app. A darker green, navy, or charcoal layer creates separation from light flowers. A bright pink top may blend into the blossoms, while a white top can merge with pale petals. Treat these as starting points, not fixed rules: compare the garment with the actual tree and available light.
For outdoor protection, wear a brimmed hat and sunglasses, and secure loose hair with a clip or scarf when it’s windy. Keep your hands away from your face around pollen-covered flowers, then gently remove any visible pollen before close-up portraits.
Finish by comparing the original and edited images side by side. Check one pale flower, one saturated flower, and the subject’s face. If all three retain distinct color and detail, the balance is more likely to feel cohesive across the frame.
2. Choosing warm or cool color tones
Choose a color direction before selecting makeup and clothing. Warm tones, such as peach, coral, and golden brown, create a sunlit impression. Cool tones, including rose, berry, and soft taupe, can complement the pink cast of cherry blossoms. Neither palette is automatically more flattering. Choose the one that keeps your complexion distinct from the flowers and feels cohesive in the setting.
Start with the light around the portrait. Direct afternoon sun can make golden shades appear stronger, while open shade may emphasize cooler colors. Peach blush that looks subtle indoors may read more vividly beside pale blossoms in bright light. Test your chosen shades near a window or outdoors, then compare them with the outfit you plan to wear.
Use these pairings as practical starting points:
For a warm palette: Pair a peach or apricot cheek with a warm brown eye and a cream or olive garment. This combination adds warmth without matching the pink petals too closely.
For a cool palette: Try rose, muted berry, or mauve accents with charcoal, navy, or a cool neutral outfit. These shades echo the blossoms while giving the portrait definition.
For a balanced palette: Keep the eye makeup neutral, then choose either a warm cheek or a cool lip as the main color accent. A single focal point can prevent the face from competing with a vivid background.
Your skin’s undertone can guide your first test, but it doesn’t have to dictate every choice. If peach makes your complexion look lively, build around warm accents. If mauve feels more natural, keep the palette cooler. Compare both options in the same light and assess the whole image, including your skin, outfit, and surrounding blossoms. A shade that looks attractive in a compact mirror may look different beside a pink tree.
Consider contrast as well as color temperature. Light clothing can blend into pale flowers, while a darker or more pronounced color helps separate you from the background. A navy jacket with a soft rose lip, for example, gives the image a clear focal point. A vivid magenta garment may compete with saturated blossoms, so use it selectively, perhaps as a small accessory rather than the dominant color.
Makeup placement also affects how a palette reads in portraits. A light sweep of warm blush across the cheeks can add dimension without creating a strong stripe. Cool-toned shadow can define the eyes, while a muted lip keeps attention on the face. For close portraits, check that the shades work together at camera distance, not just in a close-up mirror view.
Before the session, take a quick test image against a flowering tree or a similar pink background. Compare the warm and cool options on the screen, then choose the one that preserves skin detail and gives your face clear separation. For a refined eye-focused finish, explore beauty details for portrait-ready eyes.
3. What makeup looks photograph well under cherry blossoms?
Makeup reads differently in a portrait than in a mirror. Cherry blossoms create a soft background, so facial features need clear definition without heavy, flat layers. Apply makeup in thin layers, then review it in a test image. A softly defined eye, even complexion, and controlled shine can keep your face distinct against clusters of pale petals.
Begin with skin preparation and a light, even base. Apply complexion product where you want coverage for redness or uneven tone, then blend carefully around the jaw and hairline. A thick layer can look more noticeable in close portraits, especially beside delicate flowers. Check the finish near a window or outdoors, where daylight can reveal patches that indoor lighting may hide.
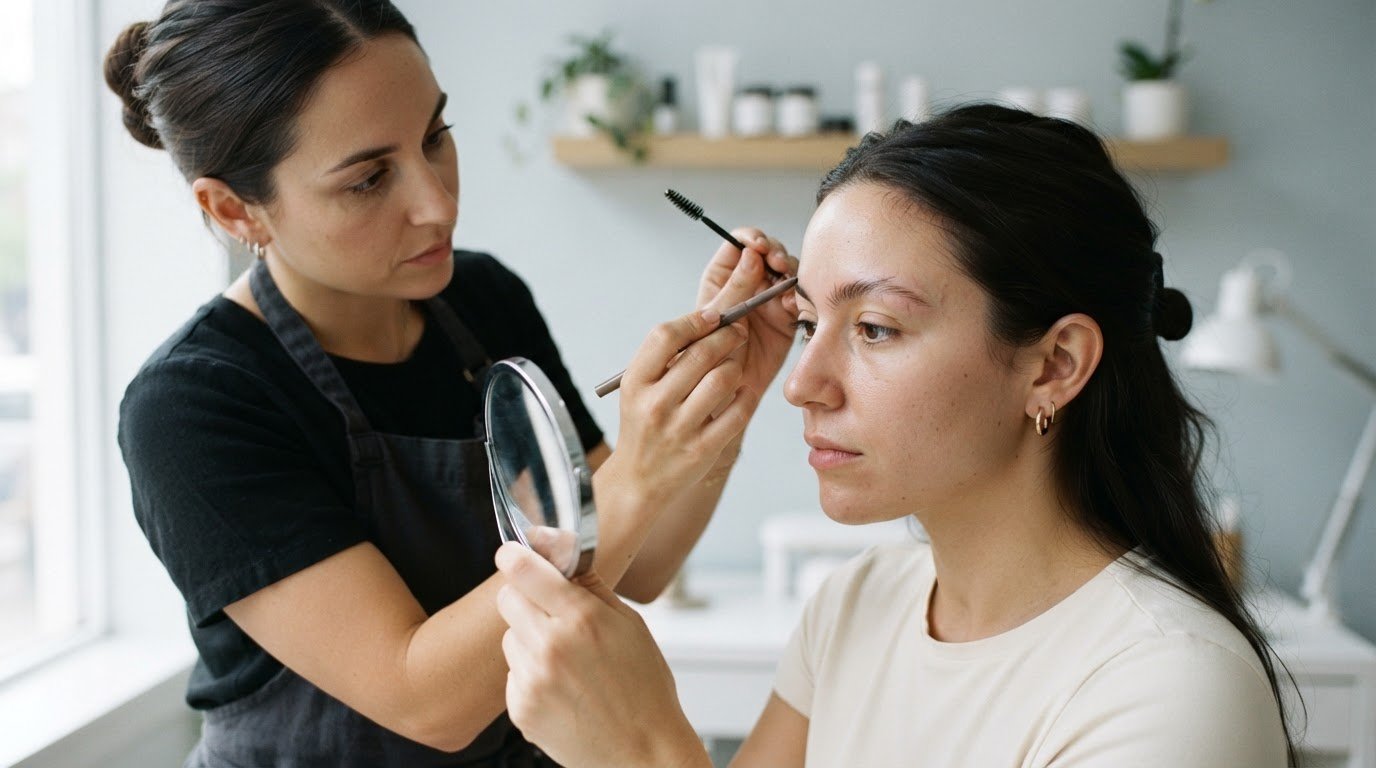
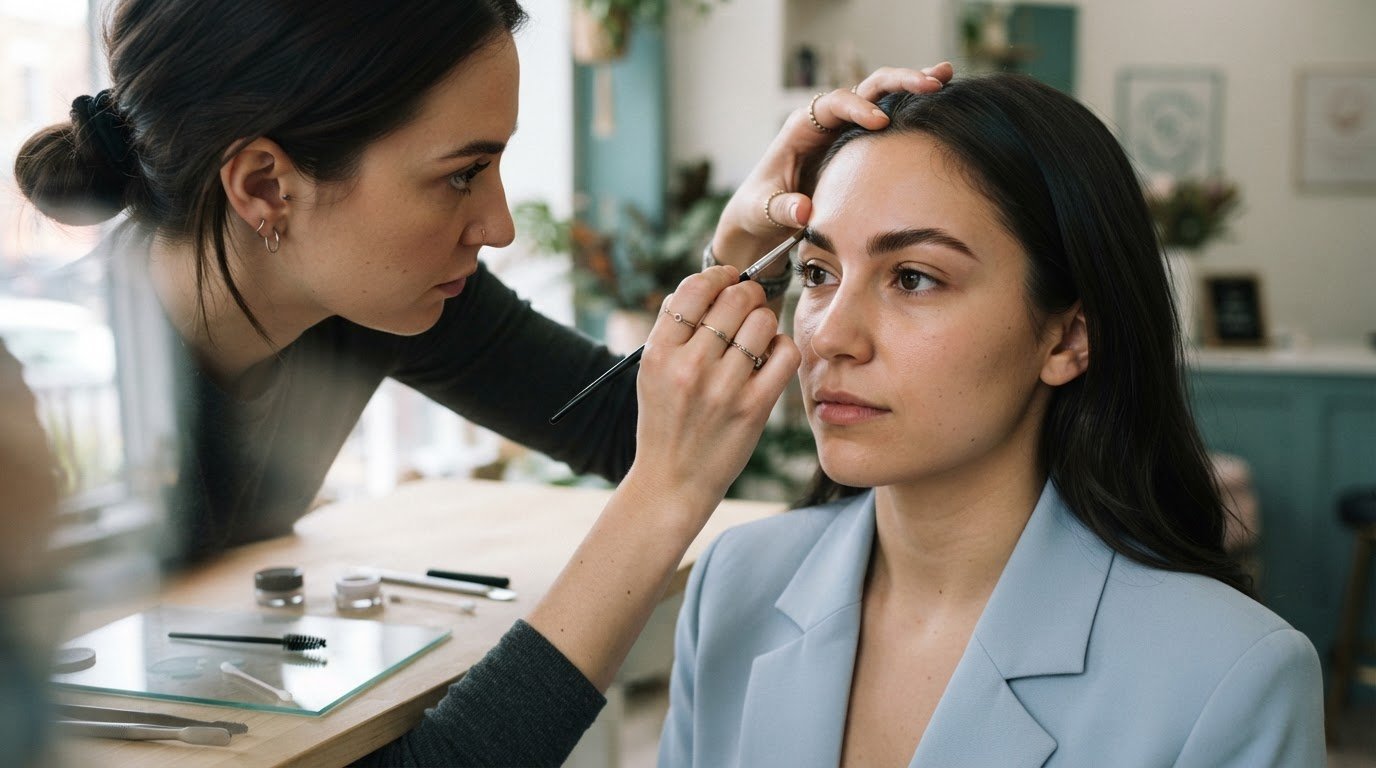
Use definition strategically. Fill sparse brows with short pencil or powder strokes that follow natural hair growth. For the eyes, choose a neutral shadow close to the lash line, then soften its edge instead of extending a strong shape across the lid. Mascara can emphasize the lashes, while a clean lash line keeps the eyes readable against a busy background.
Complexion: Blend foundation or concealer only where needed, then inspect the jawline for visible edges.
Brows: Add small, hairlike strokes instead of drawing one solid block of color.
Eyes: Define the lash line and blend shadow so the eye remains the focal point.
Cheeks and lips: Apply color in light layers, then check that both remain distinct from the blossoms.
Blush placement can change the shape of a portrait. Sweep a small amount across the cheek’s natural high point, then blend toward the temple. This adds dimension without a sharp stripe. For a close-up, keep the color soft and controlled; in a wider frame, a slightly stronger cheek accent may remain visible. Compare both distances in the camera preview.
Choose one feature to lead. A defined eye paired with a muted lip feels polished, while a stronger lip works well with minimal eye makeup. Avoid making brows, eyes, cheeks, and lips equally intense. For example, a berry lip can anchor the face, while softly shaped brows and neutral lids keep attention on your expression.
Take a test image before the main portraits. Capture one close-up and one waist-up frame, then inspect the brow edges, under-eye area, lip line, and cheek color. If powder leaves a pale cast or concealer gathers into visible lines, blend or reduce it before continuing. Check the look against the flowering background to see whether your makeup defines your features without overpowering the scene.
Check whether your face remains distinct without competing with the petals. If the frame feels too pale or your makeup loses its shape, adjust only the area that needs attention, then take another test image. Keep complexion and color adjustments restrained: small corrections are easier to judge than a fresh layer across the whole face. Review the image at the distance and framing planned for the portrait, and choose based on what the camera captures, not the mirror alone.
In bright daylight, slightly underexposing cherry blossom photos can help preserve subtle blossom colors and detail for later editing. Treat this as a careful camera adjustment, not a reason to darken your makeup. Check your face and the blossoms together in the preview; if your features become hard to read, refine the makeup or exposure before continuing. Aim to preserve the petals’ delicate tones while keeping brows, eyes, cheeks, and lips visible. To choose between a softer or more defined finish, compare test frames taken under the same conditions and select the one where your expression is clear and your makeup feels balanced with the background. This keeps your look intentional while letting the floral setting remain part of the portrait.
4. How can I make makeup last outdoors in spring weather?
Wind, damp air, shifting temperatures, and pollen can all affect spring makeup. Build a light base in layers, let each layer settle, and keep touch-up products within easy reach. A compact mirror and clean tissues, for example, make it easier to manage shine without rubbing foundation across your face.
Begin with clean, moisturized skin. Let moisturizer absorb before applying primer so your base doesn’t slide over a slick surface. Choose a primer to suit your skin’s needs, such as a smoothing formula for visible texture or a lightweight option for an oily T-zone. Apply a thin layer where makeup tends to move instead of heavily coating your entire face.
Use a measured application sequence:
Apply complexion products sparingly. Blend foundation or tinted coverage in thin layers, adding concealer only where needed. A lighter base is easier to refresh than a thick layer that creases around the nose or mouth.
Set areas that crease or shine. Press a small amount of powder onto the sides of the nose, chin, or under-eye area. Leave less powder on the cheeks if you want the finish to stay natural in close portraits.
Layer color products. Apply cream blush or shadow first, then add a small amount of coordinating powder if desired. Thin layers help color remain even when the face warms outdoors.
Finish with setting spray. Mist according to the product directions and let it dry before dressing or walking outside. Avoid touching the face while the finish settles.
Spring wind calls for a different touch-up approach than indoor wear. If your hair blows across your face, move it away gently instead of wiping your forehead or cheeks. Use a clean tissue to blot moisture, then press powder onto shiny areas. Rubbing can disturb your base and leave uneven patches, especially around the nose and brows.
For a breezy photo session, secure loose hair with a clip or tie. This reduces contact with lip color and foundation. Pollen can collect on hair and clothing near flowering trees, so avoid brushing strands across your face. If pollen lands on your skin, lift it away gently with a clean tissue rather than dragging it across your makeup.
Pack a compact touch-up kit with products for your specific needs: blotting tissue, a small powder, lip color, and a clean applicator. Check your makeup between locations, rather than after every frame. A quick look at your forehead, nose, and lip line can show where a small correction will make the biggest difference.
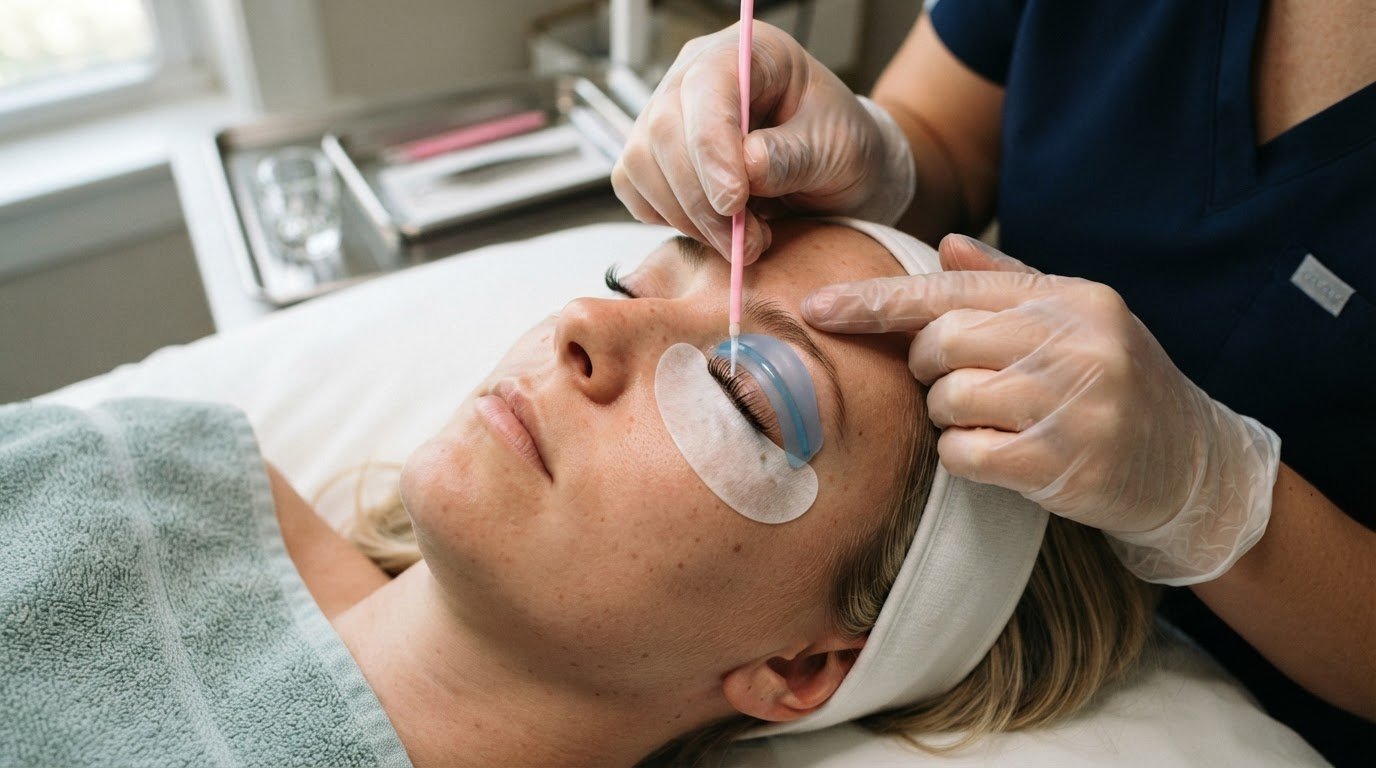
For a polished eye look that needs less dependence on mascara, consider a lash lift for your portrait preparation. Keep the rest of the routine light, and use a final mirror check before returning to the camera.
To help your makeup hold its shape, apply it lightly and avoid adding several products at once. A small correction to the lash line or brows may be enough; check the result in a compact mirror before moving to another location. Planning around the blossoms can also help you decide when and where to touch up. Cherry blossoms may last only a week after their buds open, so timing can matter for a brief photo outing. In New Jersey, blossoms bloomed later than usual that year because of unusual weather, a reminder that conditions can affect when the trees are ready. Keep your makeup kit accessible rather than buried in a bag, and make any needed adjustments before settling in for photographs. Cherry blossom portraits can include monuments, people, or animals to add context and make the trees stand out. Before you pose or frame a shot, check for windblown hair and makeup around your nose, cheeks, and lips. A few gentle touch-ups are generally more useful than reworking your entire base.
Laveda Lash & Brow Boutique
Laveda Lash & Brow Boutique offers Lash Extensions and Brow Lamination to help you prepare your eyes and brows for festival portraits. Lash Extensions add definition around the eyes, while Brow Lamination shapes the brows for a polished look. Consider these services if you want your eye area to feel more complete alongside your makeup and outfit.
Choose the detail that best supports your preferred look: defined lashes, shaped brows, or both. These treatments complement your overall photo preparation without replacing thoughtful color choices or makeup suited to outdoor conditions.
Contact Laveda Lash & Brow Boutique to discuss your lash and brow preparation.
Prepare for a Portrait That Feels Like You
Before festival day, decide what you want your portraits to express: a soft, romantic mood, a defined eye, or a clean, natural finish. Use that direction to guide your final beauty choices, from makeup balance to the details you want to emphasize. Thoughtful beauty prep for Cherry Blossom Festival photos makes your finished look feel intentional, not overworked.
If you’d like professional help with the finishing details, consider how Lash Extensions or a Lash Lift could complement your eye makeup. A Mani Pedi can also complete your presentation when your outfit or poses bring your hands and feet into the frame. Choose the services that suit your style and the portraits you have planned.
Make your next step simple: contact Laveda Lash & Brow Boutique to discuss the beauty details you’d like to prepare. Then enjoy the festival with a look that feels polished, comfortable, and distinctly yours.
Learning about online government facilities is useful for people from different backgrounds. Some users are experienced with m parivahan digital platforms, while others are still learning how to navigate them. Easy-to-read articles can support both groups by explaining important information clearly. This content is a helpful resource for anyone interested in understanding transport-related online services.